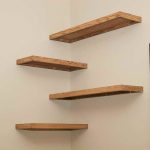
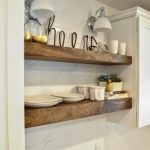
Making easy DIY floating shelves in a dynamic design can be very easy, fast, and cheap. However, in order to this, there are several materials and tools that are required.
Materials:
4 Electric clamps
2 Wire rope clamps
Steel rope, which fits into the electric clamps, measuring less than 4-5 mm in diameter
4 Angle cleats
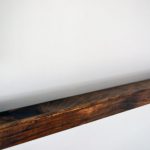
2 Shelves, which are solid wooden boards
Screws, which measure 8 x 2cm and 10 x 6-7cm for attaching the cleats to shelves and cleats and rope to concrete.
10 Plastic screw anchors for concrete
2 Washers
Tools:
Electric drill driver.
A 6mm concrete electric drill.
A flat head screwdriver
Pliers
A knife
After all the materials and tools are assembled for making the DIY floating shelves, the following steps have to be followed:
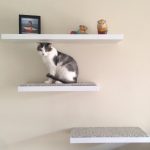
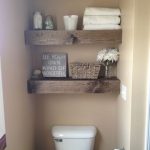
Setting up the DIY floating shelves
Attach the edge of the shelves to the angle cleats using the small screws.
Drill two holes on opposite sides of the 4mm wood, approximately 2-3cm from both edges.
Use the electric clamps to make 4 rope clamps, which can easily be done if the screws are removed.
Cut the desired length and a little more of the steel rope just in case a measurement mistake happens. On each rope make small loops and use wire rope clamps to tightly fasten them.
Measure the shelves location and the drill holes for the screws holding the cleats including the height of the top screws supposed to hold the 2 shelves.
Drill all the holes in the wall, which includes 4 for every shelf and 2 for every cleat.
In the holes stick the plastic screw anchors.
With the washers, screw the two top anchoring screws and leave very little of the screw to stick out.
On the screws with the washers hang the rope’s loop.
Screw the top shelf and pass the rope through the front hole ensuring it is locked using the rope clamps and cut any excess rope.
Repeat step 5 with the other shelf.